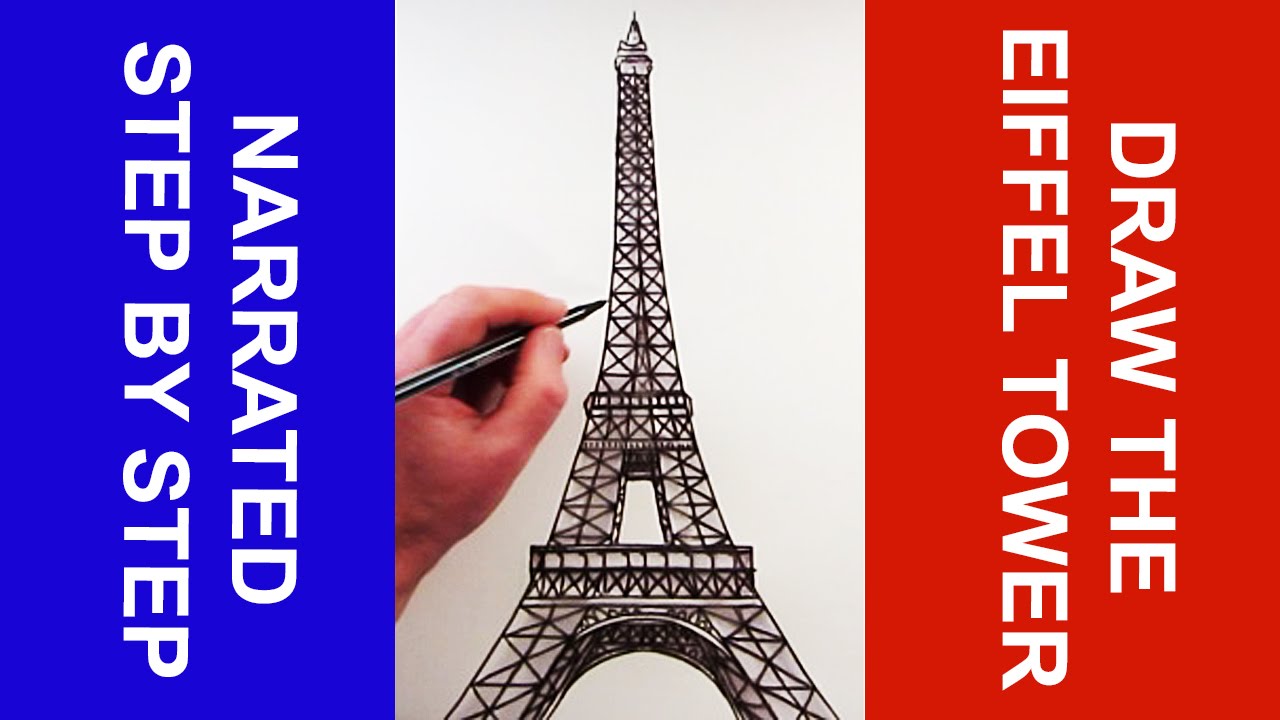
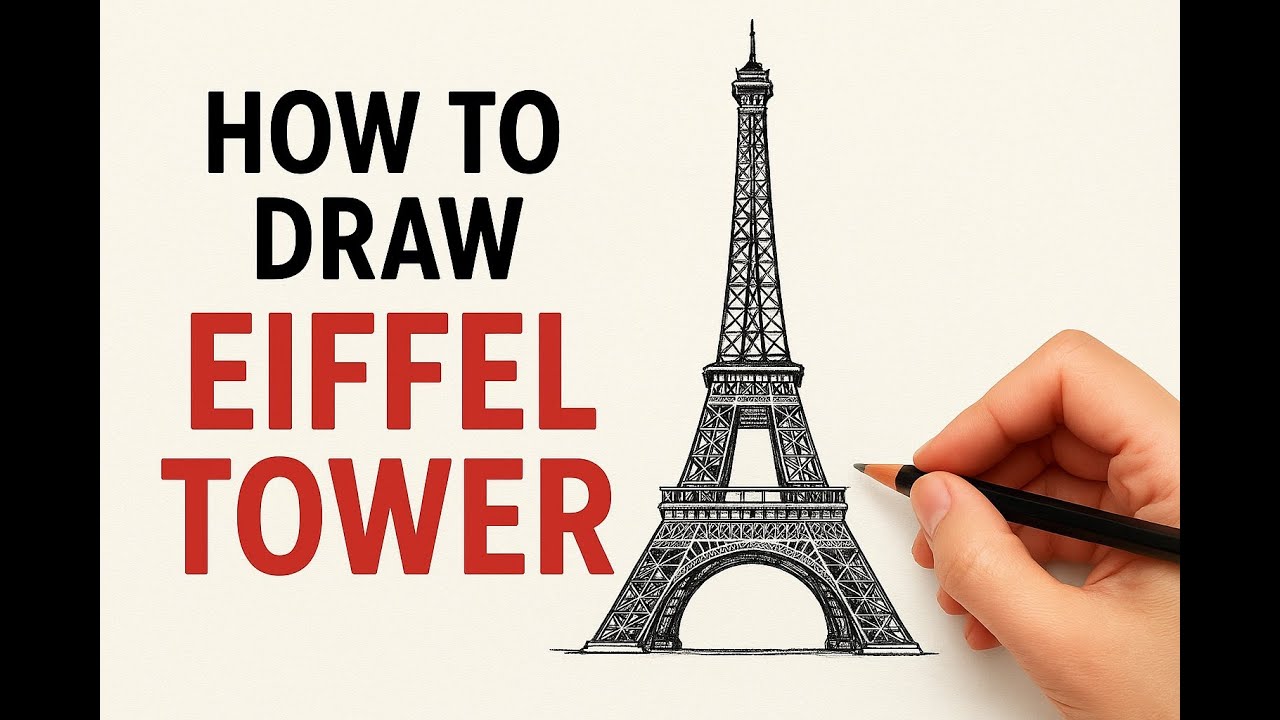
Step By Step Drawing Eiffel Tower

Are you ready to unleash your inner artist and draw one of the most iconic landmarks in the world? Look no further! We're going to take you on a step-by-step journey to create a stunning Eiffel Tower that will make you proud. So, grab your pencils, sharpen your skills, and let's get started!
Getting Started
To begin, you'll need a piece of paper and a pencil. Yes, it's that simple! You don't need to be a skilled artist to draw the Eiffel Tower. Just remember, it's all about having fun and being creative. As the famous artist Picasso once said,
"Every child is an artist, the problem is how to remain an artist once we grow up."So, let's tap into our inner child and get creative!
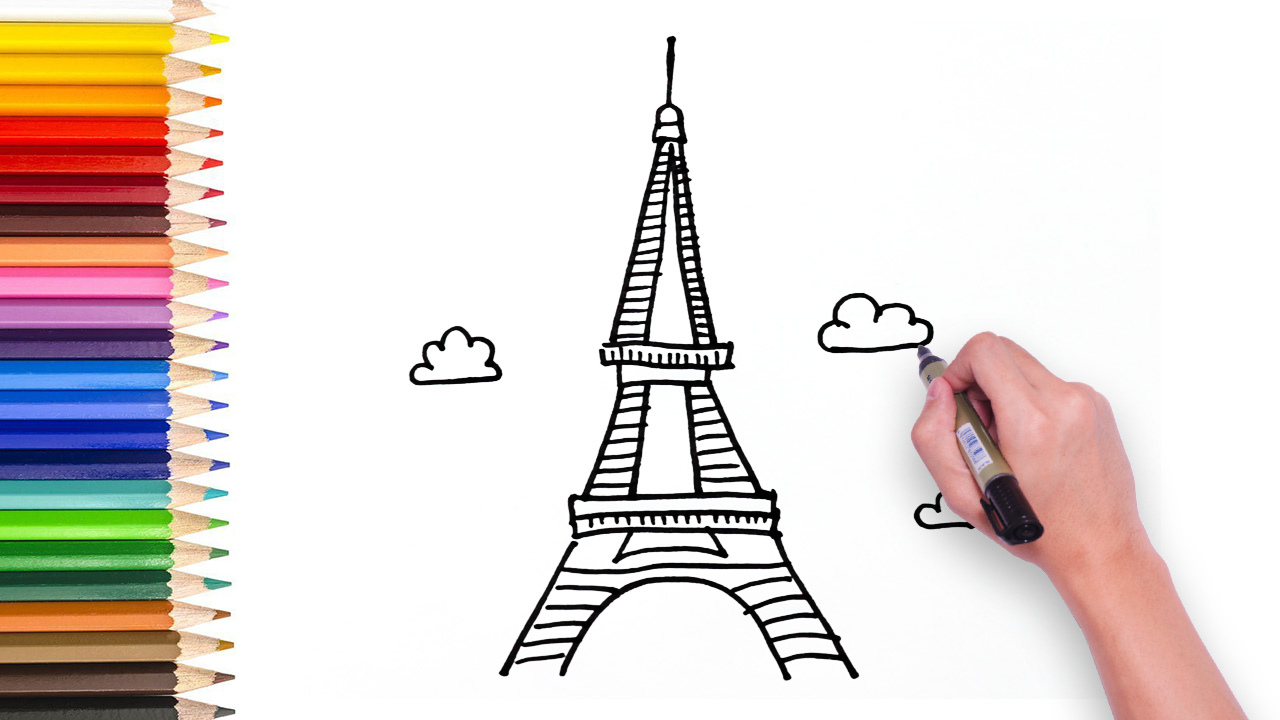
Start by drawing a large rectangle with a slight curve at the top. This will be the base of the Eiffel Tower. Don't worry too much about the proportions at this stage; we'll refine it as we go along. Just think of it as the foundation of your masterpiece. You can even imagine you're building a giant Lego tower, brick by brick!
Must Read
- A Quiet Escape In The Suburbs: Visiting Union Pond Conservation Area
- Conquer Manitoulin’s Best View: Cup And Saucer Trail Parking & Trailhead Guide
- 140 Kilometers Of Adventure: Biking The Greater Niagara Circle Route
- Scenic Routes For Every Fitness Level: The Best Walking Trails Niagara Falls Offers
- Eksplorasi The Highest Point Of The Escarpment: Pretty River Provincial Park
The Four Main Pillars
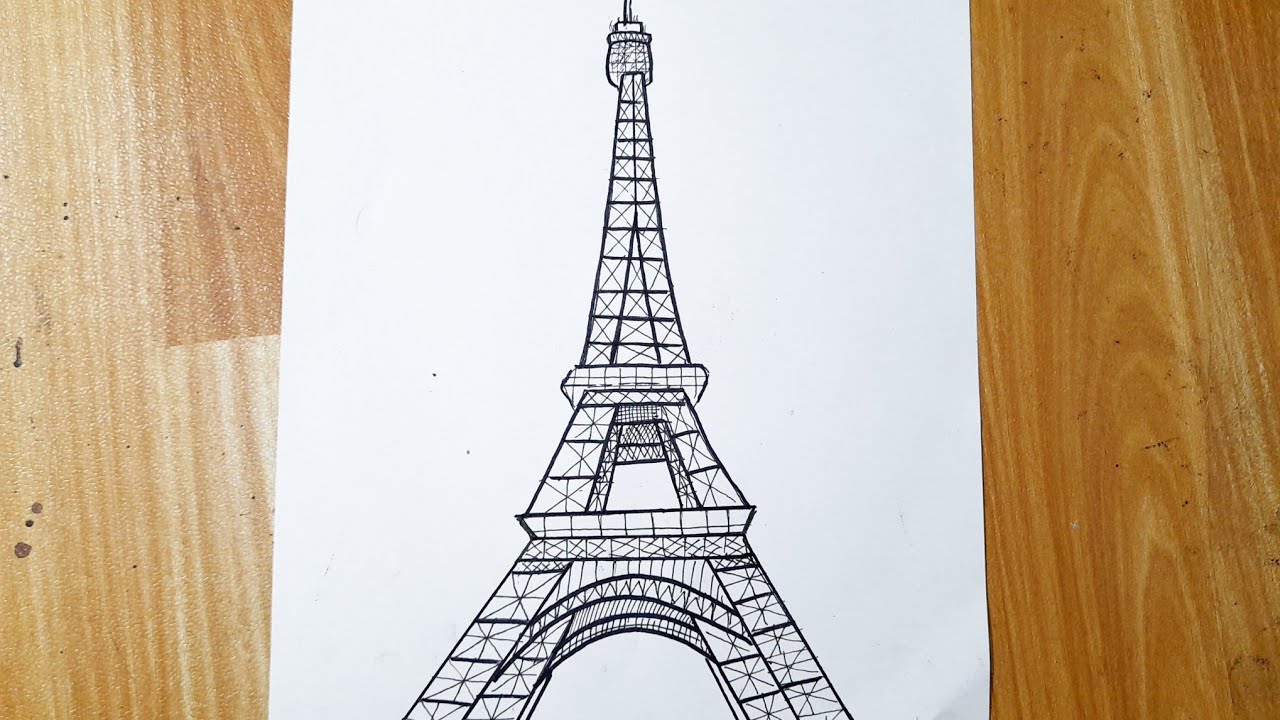
Next, draw four vertical lines that will form the main pillars of the Eiffel Tower. These pillars should be evenly spaced and slightly tapered at the top. Think of them as giant metal legs that will support the entire structure. You can use a ruler to help you draw straight lines, but don't worry if they're not perfect – we're going for a more relaxed, artistic vibe here!
Now, connect the pillars with curved lines, creating the iconic Eiffel Tower shape. This is where the magic happens, and your drawing starts to come alive. You can use a soft pencil or a marker to add more definition and depth to your lines. Remember, the Eiffel Tower is all about curves and flowing lines, so don't be afraid to get creative and add your own flair!

Lattice Details and Texture
The lattice details are what make the Eiffel Tower so unique and recognizable. To create this effect, draw a series of interconnected triangles and curves between the pillars. Think of it as a giant metal web that adds texture and visual interest to your drawing. You can use a fine-tip pen or a pencil to add these details, and don't worry if it gets a bit messy – that's all part of the charm!
To add even more depth and dimension to your drawing, you can use different shading techniques. For example, you can use hatching or cross-hatching to create areas of light and dark. This will give your Eiffel Tower a more three-dimensional appearance and make it pop off the page. Just remember, the key to good shading is to use soft, gentle lines that follow the contours of the tower.

The Final Touches
Finally, add some finishing touches to your masterpiece. You can draw the elevators, stairs, and other details that make the Eiffel Tower so fascinating. Don't forget to add some context, like the surrounding cityscape or a few curious tourists. This is where you can really let your imagination run wild and add your own personal touches to the drawing.
And that's it! With these simple steps, you've created a stunning Eiffel Tower that's sure to impress. Don't be too hard on yourself if it's not perfect – the beauty of drawing lies in its imperfections and unique character. As the great artist Van Gogh once said,
"If you hear a voice within you say 'you cannot paint,' then by all means paint, and that voice will be silenced."So, go ahead, pick up your pencil, and let the creativity flow!